
The nylon line on a Black & Decker string trimmer wears down through abrasion against the ground, curb edges and stones. When too little line remains, cutting becomes less effective and the machine runs without trimming. Replacing the line takes less than twenty minutes and requires no special tools, as long as you understand how the spool works and which way to wind the line for your trimmer head.
Nylon line and spool: key terms to know before disassembly
Before working on the trimmer head, identify these three parts. The spool is the plastic drum around which the line is wound. The trimmer head cover (also called the spool cover) holds the spool in place underneath the machine. The return spring, located between the spool and the shaft, provides the tension needed for the automatic line-feed system.
Most recent Black & Decker models (ST, GL and GLC ranges) use either Bump Feed or the Automatic Feed System (AFS). With Bump Feed, tapping the head on the ground releases more line. With AFS, the line feeds automatically during use. The mechanisms differ, but the winding process is similar: wind the line in the direction shown by the arrow molded into the spool.
To replace the line on a Black & Decker string trimmer, first check which line diameter is compatible with your model. This information is printed on the trimmer head cover or listed in the user manual. Line that is too thick will not feed; line that is too thin will break almost immediately.
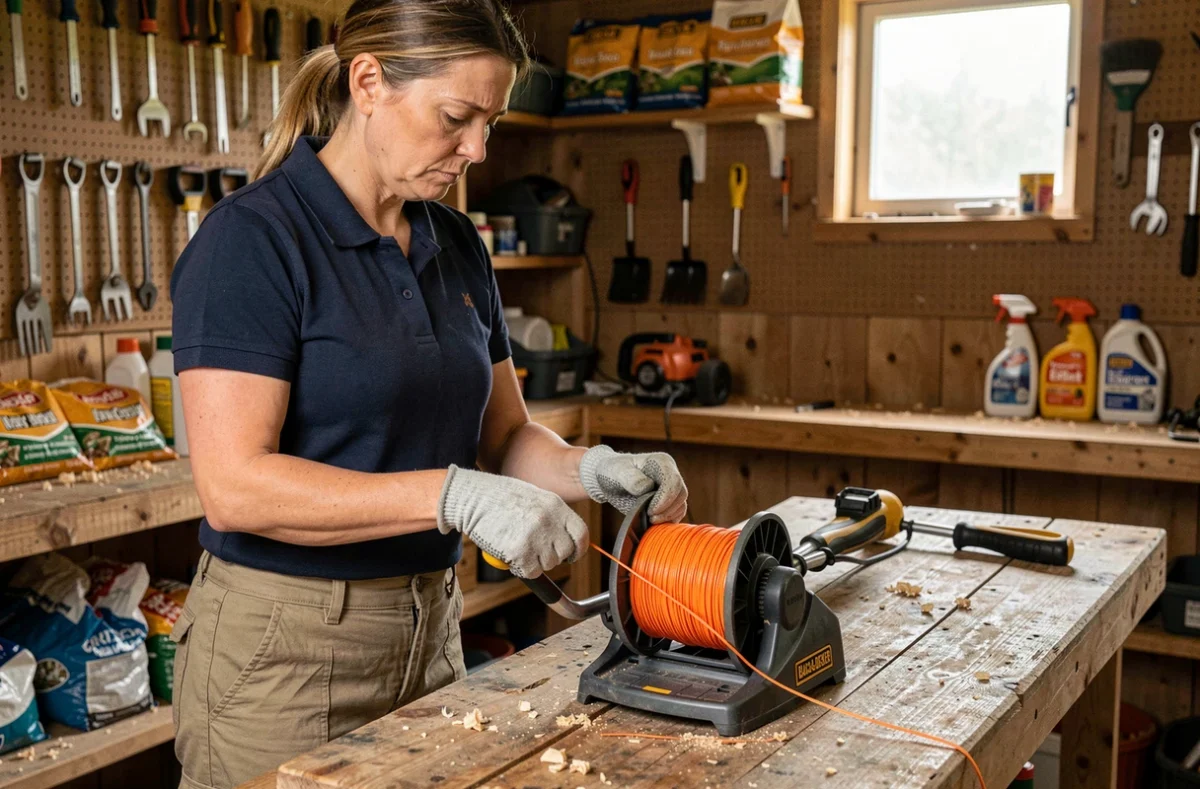
Remove the spool and wind the nylon line onto a Black & Decker string trimmer
First, unplug the string trimmer or remove its battery. This may seem obvious with corded models, but accidental startup is still possible while the machine is plugged in.
Access the spool
Turn the machine upside down, with the trimmer head facing up. On Black & Decker models with a clip-on cover, press the tabs on either side of the cover and pull it off. On models with a screw-on cover (older models, including some GL models), unscrew the cover counterclockwise. The spool can then be lifted out. Note the position of the return spring before removing the spool: if it falls out, it must be put back correctly for the line-feed system to work.
Wind the new line
Cut a suitable length of nylon line. For example, the manual for the GH400 specifies line with a diameter of 1.7 mm. Find the anchor slot on the spool: this small notch holds the end of the line in place while you start winding.
- Insert one end of the line into the anchor slot, leaving a few centimeters sticking out to hold it in place
- Wind the line in the direction of the arrow molded into the spool, keeping the wraps tight and even without crossing them
- Leave about ten centimeters of line at the end, then secure it in the retaining notch on the edge of the spool
- Put the spool back in the trimmer head, thread the remaining line through the outlet eyelet, then snap the cover back on
Crossed or loosely wound coils can jam the line during use. This is the most common cause of problems after reloading.
Line wound correctly but not feeding: diagnosing a feed problem
The line has been wound carefully, the spool is in place and the cover is securely attached. The machine runs, but the line does not feed. This is a common problem and does not necessarily mean the line was wound incorrectly.
Check the outlet eyelet
The eyelet (the small hole in the cover through which the line exits) wears over time. If it becomes oval or chipped, it can snag the line instead of guiding it. Run a finger around the inside: if the edge feels sharp or misshapen, replace the cover. A worn cover costs just a few euros and can be ordered as a spare part from the Black & Decker website or an accessories retailer.
Tell the difference between incorrect winding and a faulty spool
Remove the spool and pull the line by hand. If it comes out freely, the problem is elsewhere: the return spring may be out of position, or the cover may not be holding the spool firmly enough. If the line resists or catches intermittently, it is probably wound unevenly. Unwind it completely and start again.
A spool with cracked plastic, an enlarged anchor slot or deep grooves on its inner walls will no longer hold the line properly. In that case, even perfectly wound line will not fix the problem. The spool itself needs to be replaced.
Faulty trimmer head: the last resort
If the spool is new, the line is wound correctly, the eyelet is intact and the spring is in place, the trimmer head’s internal mechanism (the automatic or bump-feed system) may be at fault. On AFS models, a plastic gear inside the head can wear out after several seasons. The complete trimmer head can be replaced without tools: on almost all Black & Decker models, it unscrews from the motor shaft counterclockwise.
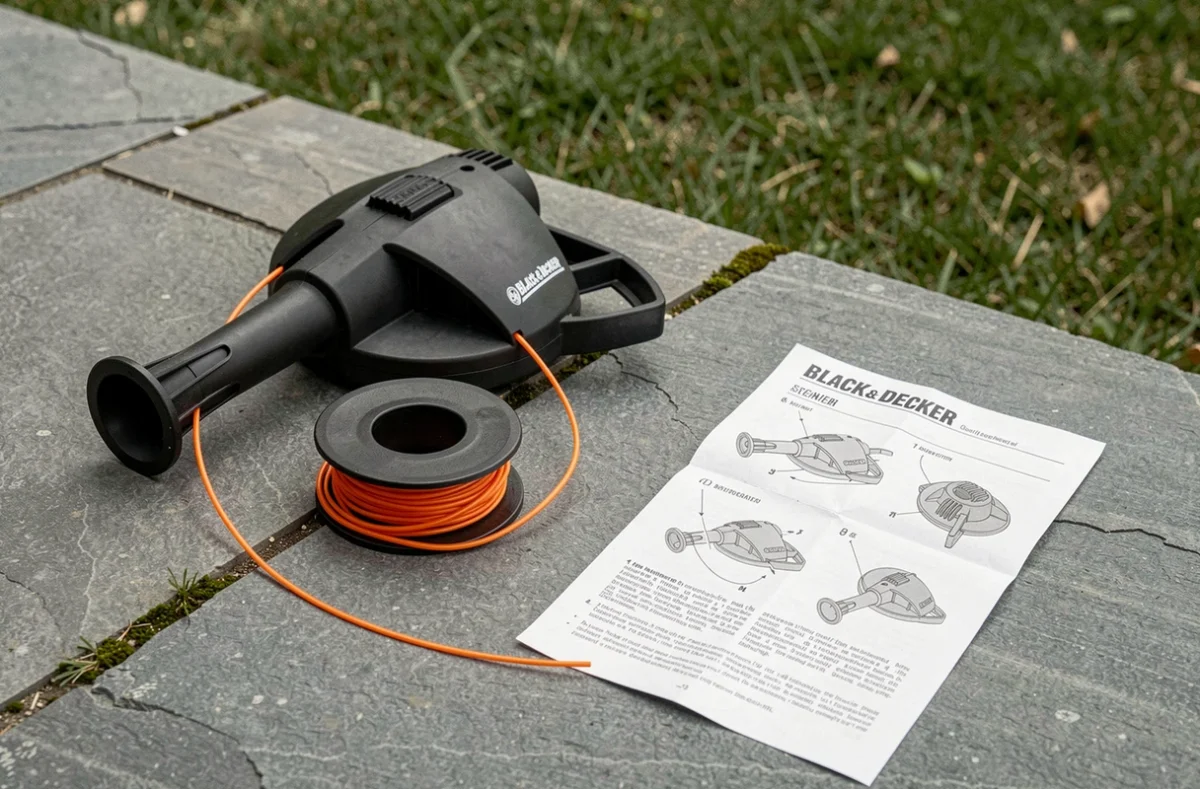
Common mistakes when replacing nylon line
Some mistakes crop up again and again, turning a simple task into a frustrating one.
- Winding in the wrong direction: the line unwinds instead of feeding through the eyelet. The arrow on the spool always shows the correct direction
- Overfilling the spool: too much line prevents the cover from closing properly and stops the spool from rotating freely
- Forgetting the return spring: without it, the spool is no longer held against the feed mechanism, so the line cannot come out
- Using line with the wrong diameter: line that is too thick puts strain on the motor, while line that is too thin breaks within seconds of touching the ground
After reassembly, run the machine for a few seconds without trimming and check that the line extends to the correct length. The cutting blade built into the guard automatically trims any excess.
Replacing the nylon line is the most common maintenance task for a string trimmer. If the line feeds properly after reloading, the spool and trimmer head are in good condition. If it will not feed despite being wound carefully, the problem is almost always the spring, the eyelet or the spool itself—all inexpensive parts that are easy to replace.